Building Bleep, a TJ Bot
11 Aug 2017TJBot is an open source DIY kit from IBM Watson to create a Raspberry Pi powered robot backed by the IBM Watson cognitive services. First published late last year, the project provides all the design files needed to create the body of the robot as either laser-cut cardboard or 3D printed parts.
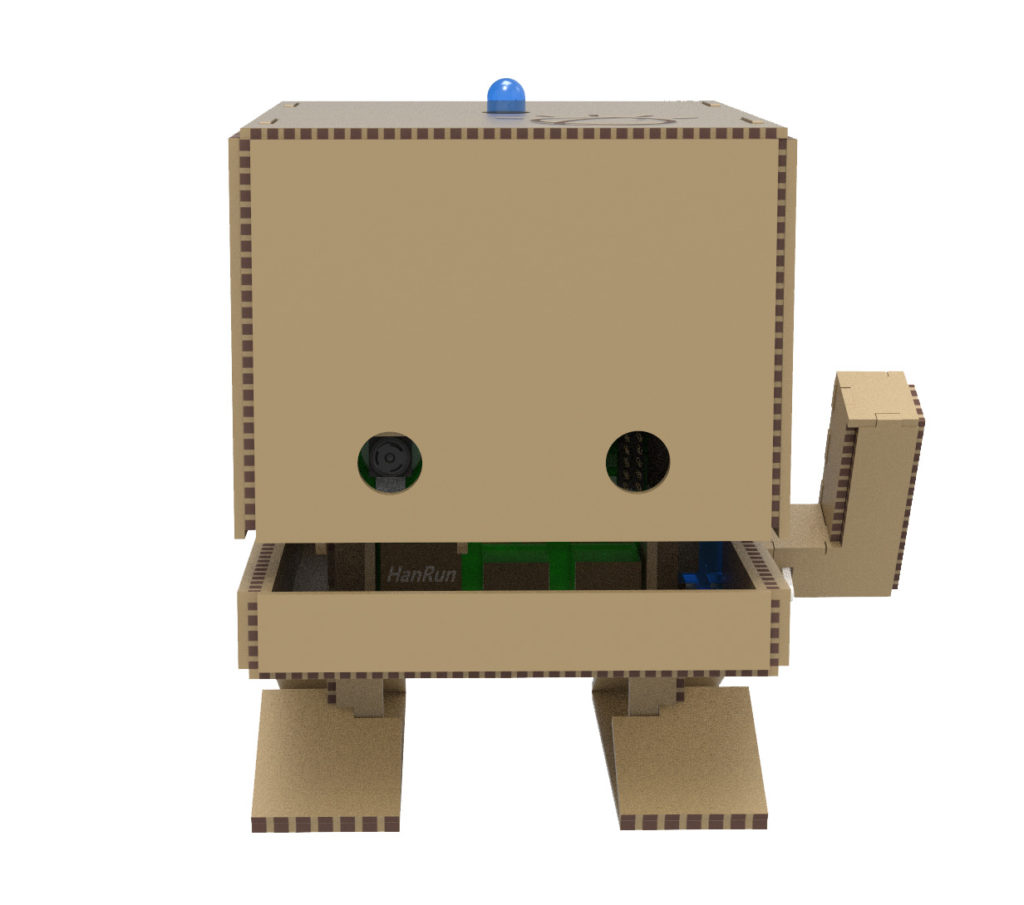
It includes space for an RGB LED on top of its head, an arm driven by a servo that can wave, a microphone for capturing voice commands, a speaker so it can talk back and a camera to capture images.
There are an ever-growing set of tutorials and how-tos for building the bot and getting it hooked up to the IBM Watson services. All in all, its a lot of fun to put together. Having played with one at Node Summit a couple weeks ago, I finally decided to get one of my own. So this week I’ve mostly been monopolising the 3D printer in the Emerging Technologies lab.
[A post shared by Nick O'Leary (@knolleary)](https://www.instagram.com/p/BXiXmmuAoyg/) on
[A post shared by Nick O'Leary (@knolleary)](https://www.instagram.com/p/BXiifm0AEfd/) on
After about 20 hours of printing, my TJBot was coming together nicely, but I knew I wanted to customise mine a bit. In part this was for me to figure out the whole process of designing something in Blender and getting it printed, but also because I wanted my TJBot to be a bit different.
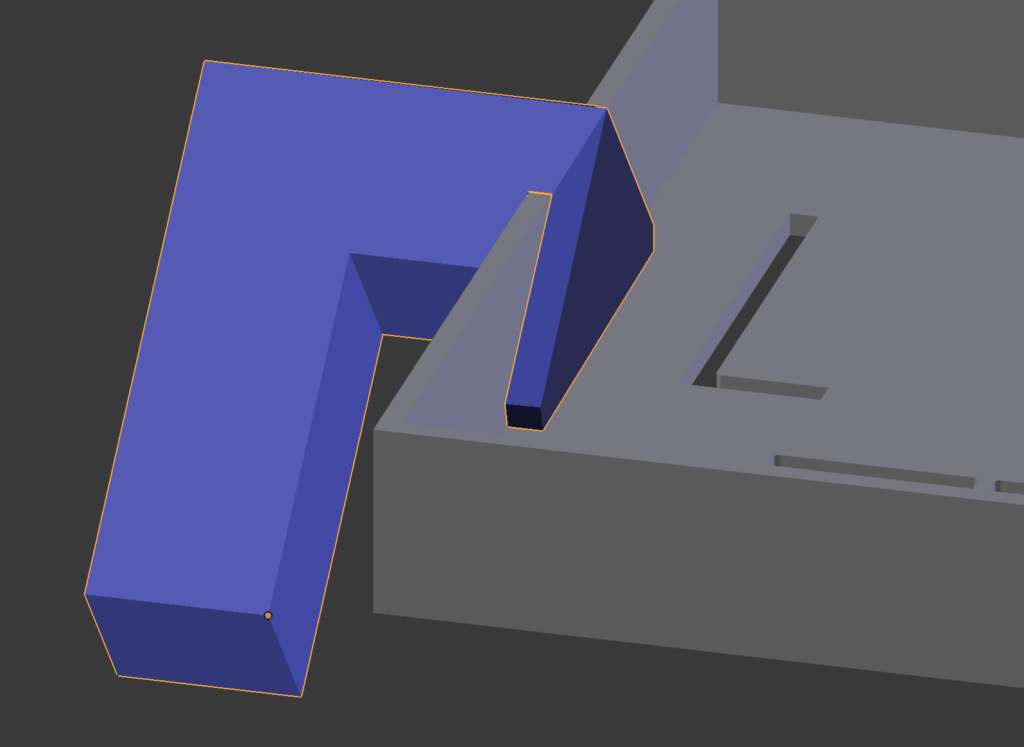
First up was a second arm to given him a more balanced appearance. In order to keep it simple, I decided to make it a static arm rather than try to fit in a second servo. I took the design of the existing arm, mirrored it, removed the holes for the servo and extended it to clip onto the TJBot jaw at a nice angle.
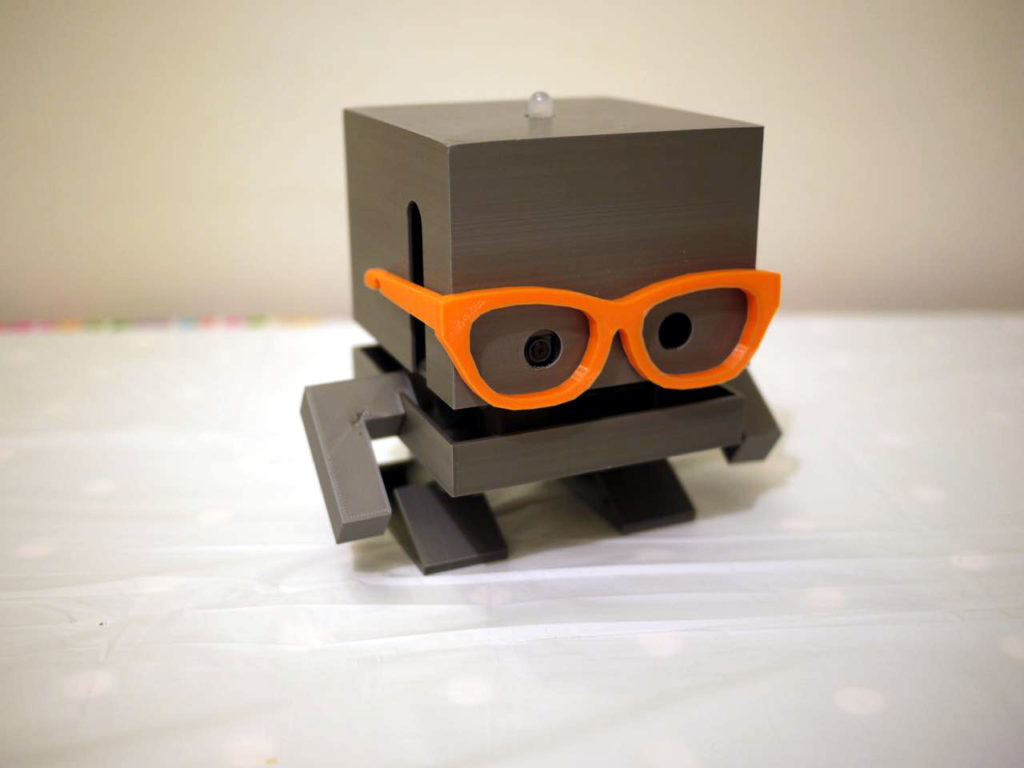
The second customisation was a pair of glasses because, well, why not?
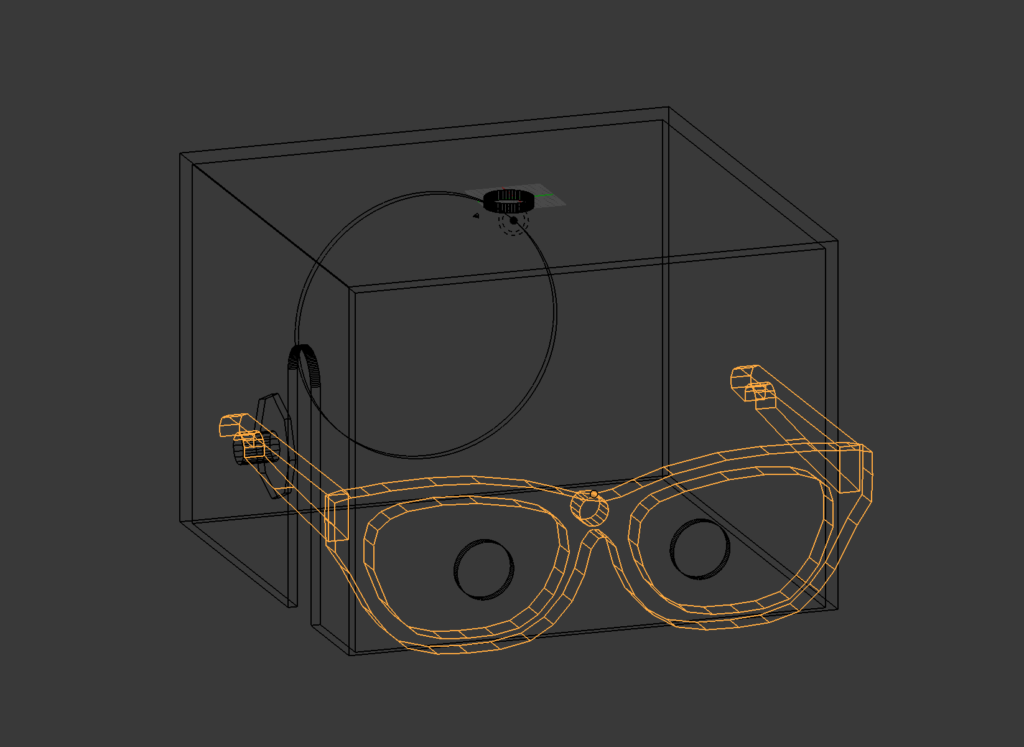
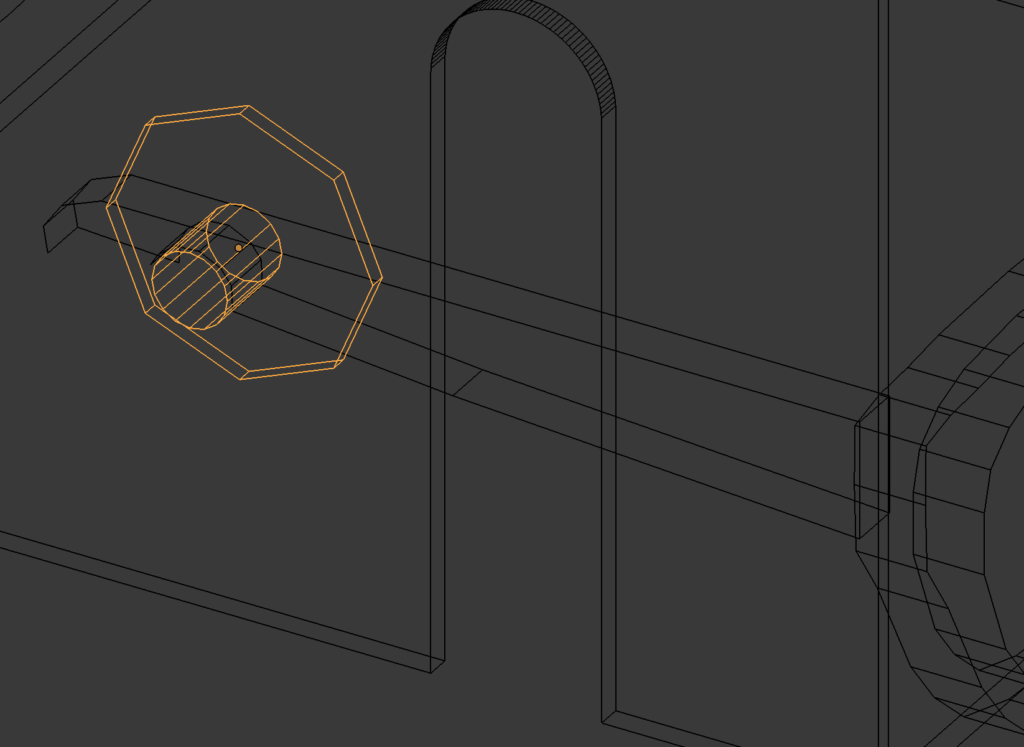
I designed them with a peg on their bridge which would push into a hole drilled into TJBot’s head. I also created a pair of ‘ears’ to push out from the inside of the head for the arms of the glasses to hook onto. I decided to do this rather than remodel the TJBot head piece because it was quicker to carefully drill three 6mm holes in the head than it was to wait another 12 hours for a new head to print.
In fact, as I write this, I’ve only drilled the hole between the eyes as there appears to be enough friction for the glasses to hold with just that one fixing point.
There some other customisations I’d like to play with in the future; this was enough for me to remember how to drive Blender without crying too much.
Why call him ‘Bleep’? Because that’s what happens when you let your 3 and 7 year old kids come up with a name.
I’ve created a repository on GitHub with the designs of the custom parts and where I’ll share any useful code and how-tos I come up with.