Committing Changes
Before we move on with the workshop, the next thing to learn about is how to commit changes you've made in your project.
Note
If you skipped over the previous step to create a flow, you won't have any changes to commit. Add a node to your workspace and click the Deploy button so you have a change to commit.
- Open the History sidebar tab. This is where you can see the changes to your project that are ready to be staged and committed to the git repository.
-
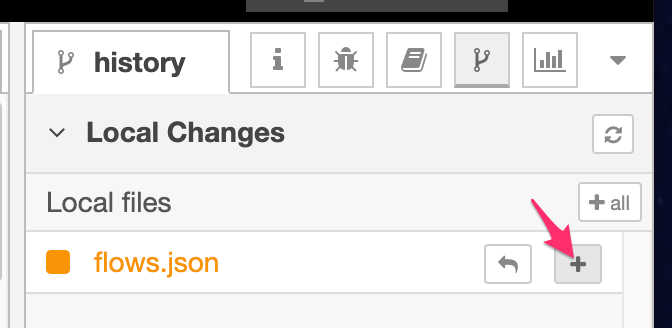
You should see your flow file listed in the Local Files section. Clicking on it will open a dialog showing the changes to the file since it was last committed.
-
Click the
+that appears when you hovered over the file name. The entry will move to the 'Changes to commit' section. - Do the same for any other files in the Local Files section.
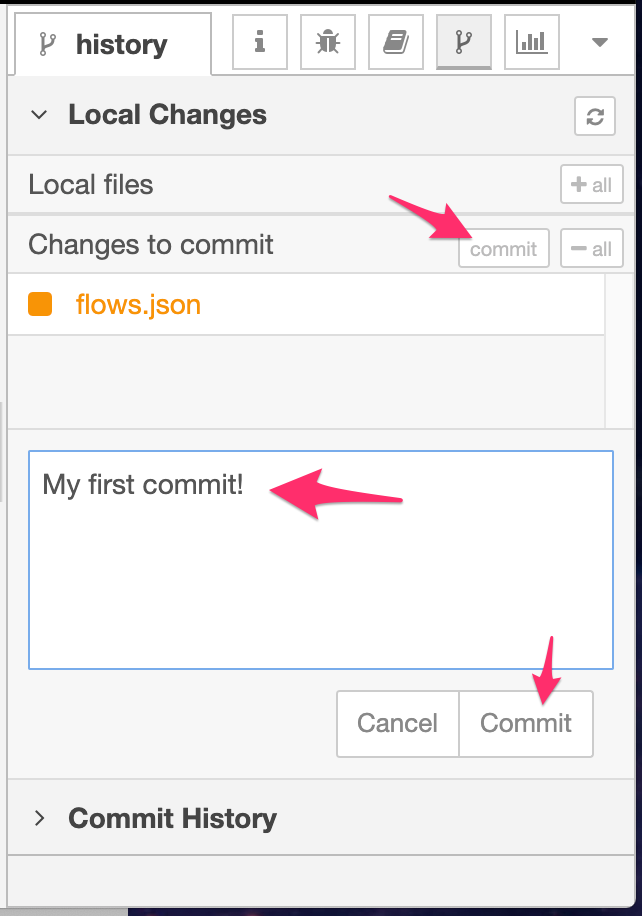
- Click the
commitbutton at the top of the 'Changes to commit' section. -
Enter a commit message and click the Commit button.
-
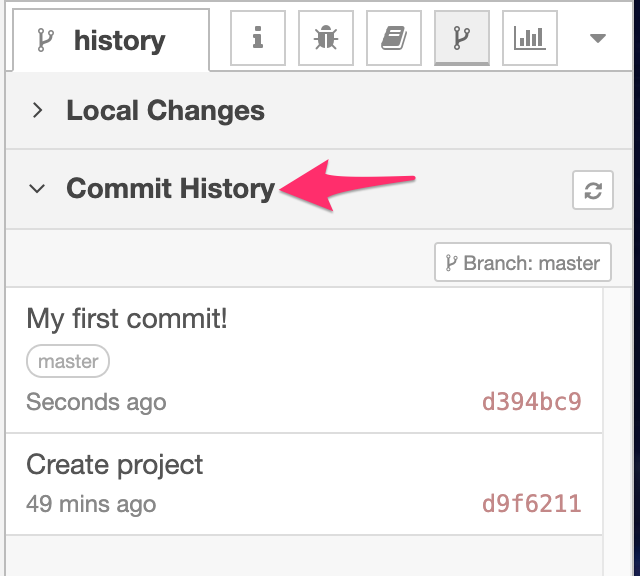
Expand the 'Commit History' section of the sidebar. This lists the history of commits for the project. At this point there should be two commits - the original commit from when the project was created, and the one you've just created.
Next Steps
Your Node-RED environment is all setup now for the rest of this workshop.
In the next part, we'll start looking at Node-RED Dashboard.