Finishing the project
Having made these final changes to the project, restart Node-RED and open up the editor in your browser.
In the history sidebar you will see the files you've been modifying.
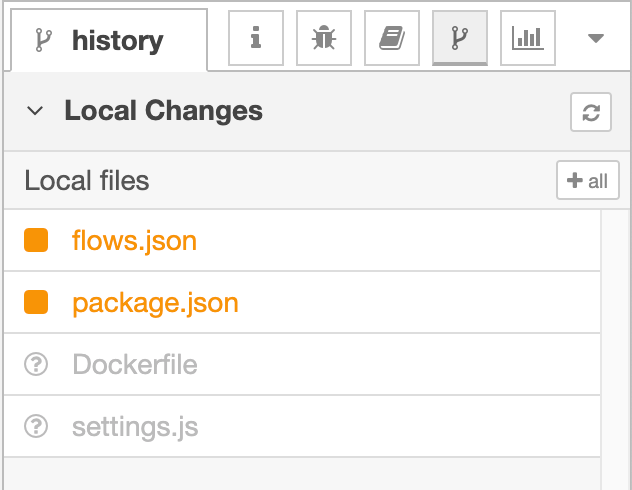
- Click the
+ allbutton to stage all of the files in one go. - Click the commit button, enter a commit message and commit the changes.
At this point, your project's git repository is completely up to date.
Pushing changes to GitHub
The Node-RED projects feature supports adding a remote repository to push and pull changes to.
This step is entirely optional and is provided here for your information.
Other hosted git services exist
Whilst the instructions here cover GitHub, the same basic steps apply for the other hosted git services such as GitLab.
-
Create a new repository on GitHub. Do not initialise the repository with any content.
Make a note of the
HTTPSurl for the repository.
-
Create a new personal access token for your GitHub account
- Open your GitHub Developer settings page to create a new Personal Access Token - https://github.com/settings/tokens
- Generate a new token with the
repo:public_reposcope. - Make a note of the token - you won't be able to see it again after you close that page.
Access Token vs SSH
Node-RED also supports SSH access to repositories, although it takes a few more steps to setup. We're going with the Personal Access Token as an easier approach for now.
-
Open the Project Settings dialog from the main menu in the editor (
Projects -> Project Settings) -
Switch to the
Settingstab. -
Click the
add remotebutton to expand the 'Add remote' dialog. Enter theHTTPSurl for your repository and click theAdd remotebutton at the bottom.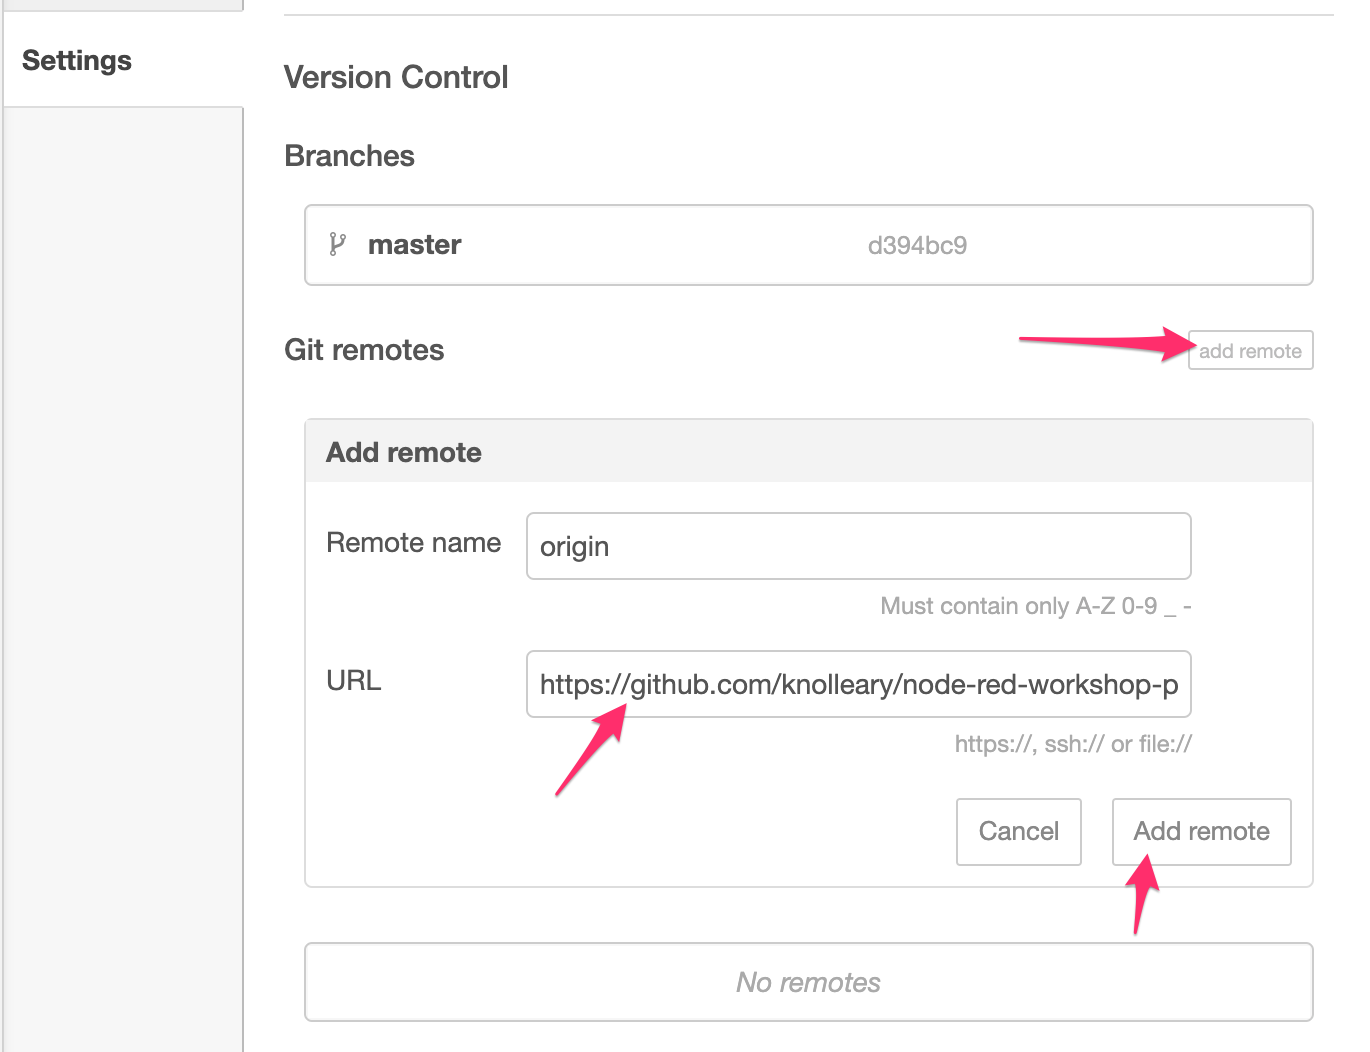
-
Go to the
Commit Historysection of theHistorysidebar tab. -
Click the button with two arrows in - this opens the "Manage remote branch" dialog.
-
Click where it says "Remote: None" to expand the branch select box.
-
Type in
origin/maininto the box and then click the "Create branch" box.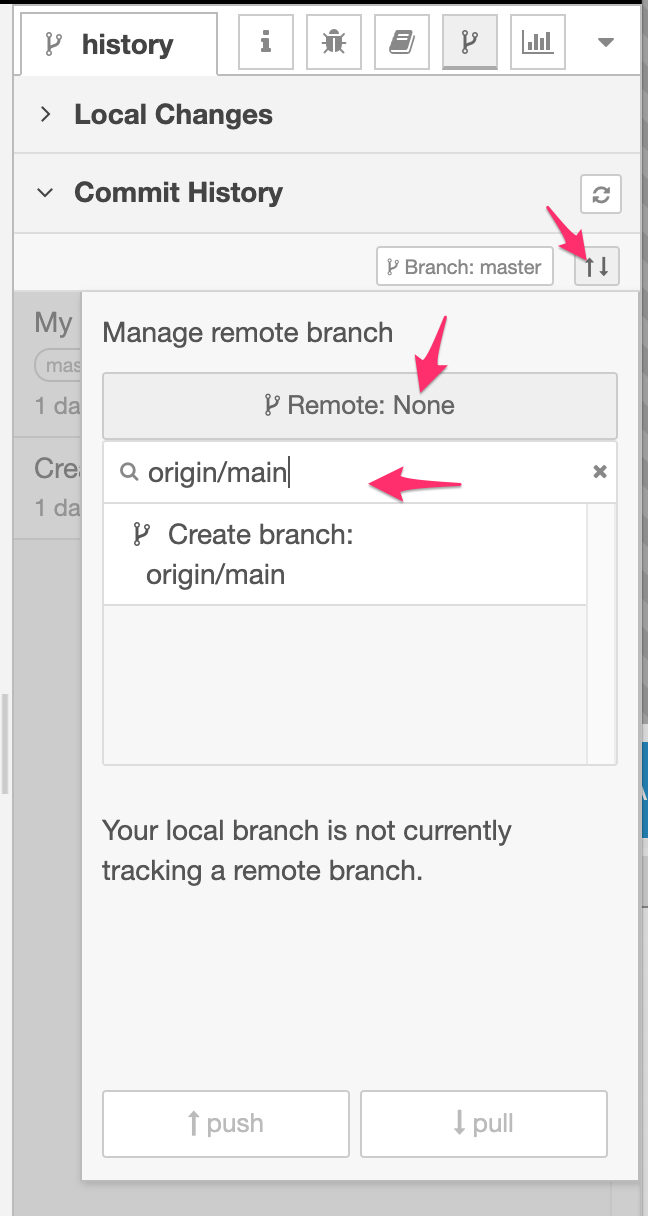
"master" vs "main"
GitHub recently changed the default branch to be called
mainrather thanmaster. If you are using a different git hosting service, check what the default branch is called and use that here. -
Click the
pushbutton to push your changes to the remote. You will be prompted for authentication details. Provide your GitHub username and use the Personal Access Token you generated as the password.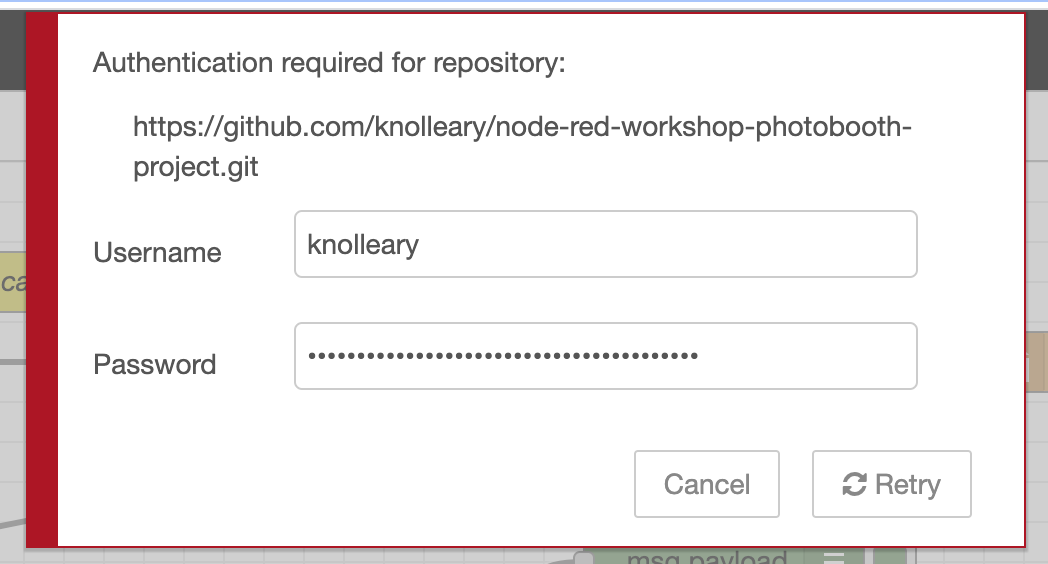
Storing passwords
Node-RED only holds your remote repository username and password in memory - it does not store them anywhere. That will mean you will need to provide them again the first time you interact with the remote repository after restarting Node-RED.
-
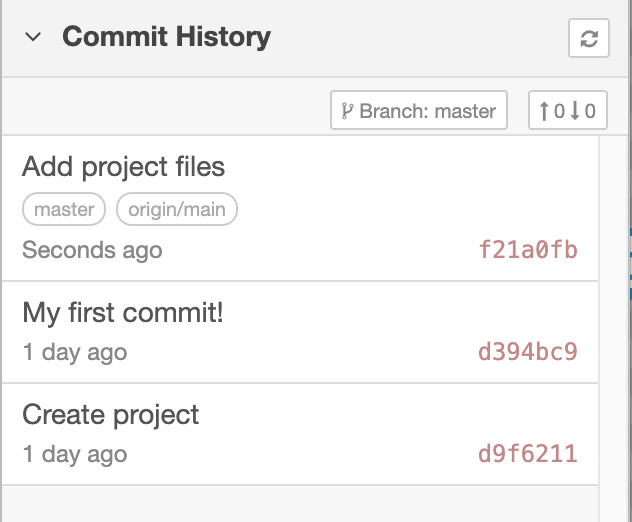
All being well, after a few moments the "Manage remote branch" dialog should close and the commit list refresh.
You should the most recent commit is has both the
masterandorigin/mainlabels. This shows you your local repository is level with the remote.The button with the arrows (that opens the Manage remote branch dialog) now also shows how many commits ahead or behind your local repository is compared to the remote.