Update package.json
Adding dependencies
Through the workshop you've installed a number of additional modules into
Node-RED. We need to make sure they are listed in the project's package.json
file so they will get installed into the container.
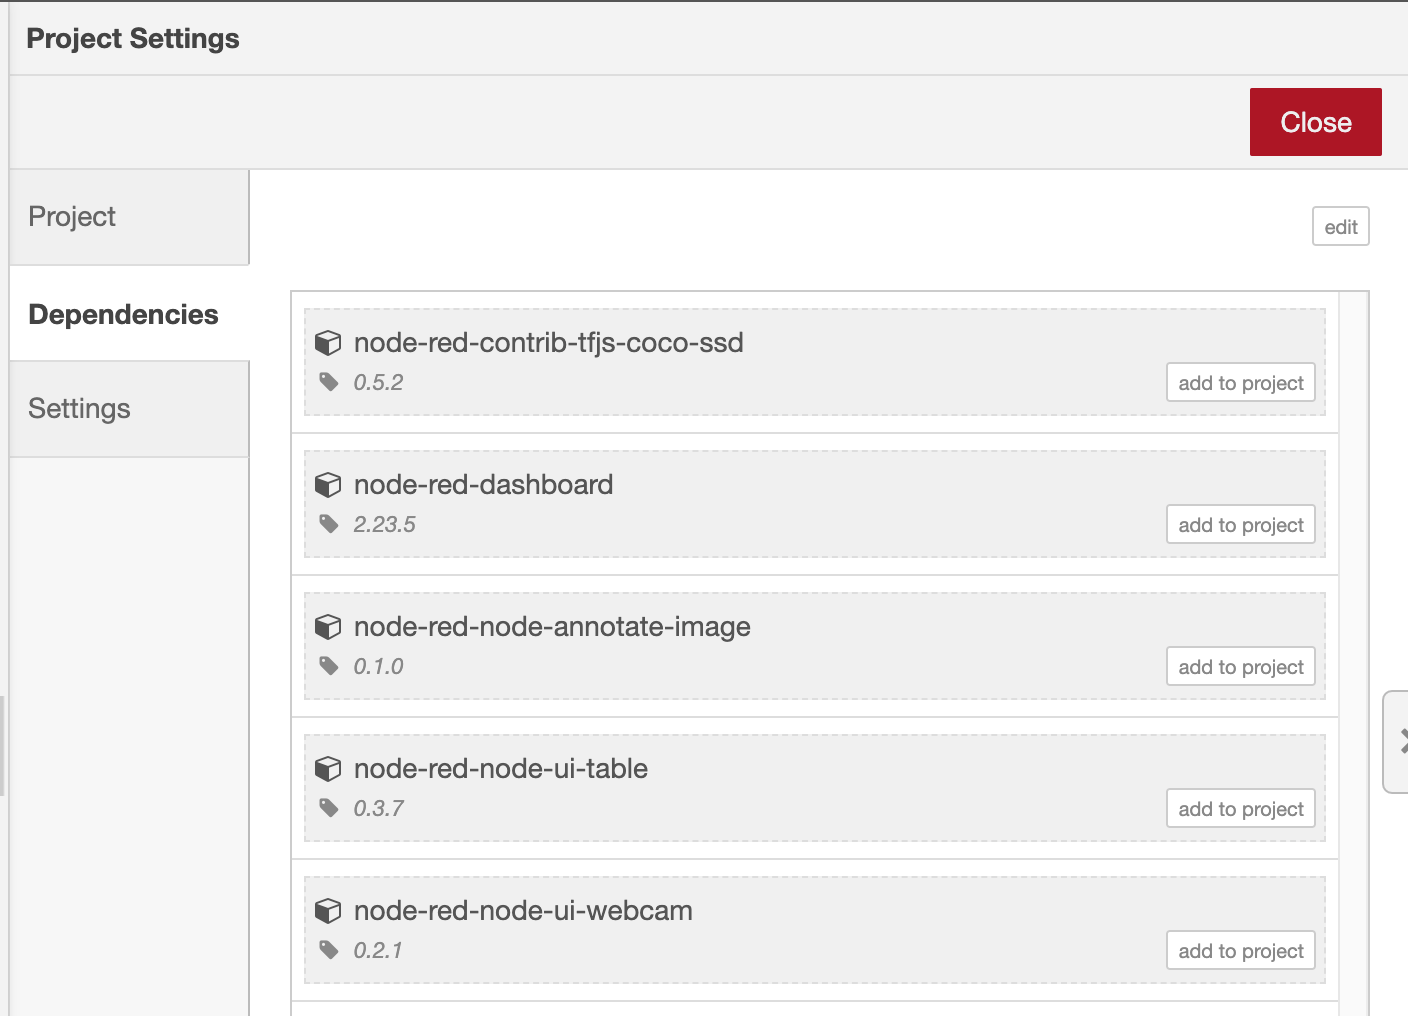
- Open the Project Settings dialog from the main menu in the editor (
Projects -> Project Settings) -
Switch to the Dependencies tab. You will see a list of the additional modules that are used by the project. Click the 'add to project' next to each one and then close the dialog.

That will have updated the package.json file for you. However, for this
scenario there's one more dependency we need to add manually - node-red
itself.
The package.json file can be found in ~/.node-red/projects/<name-of-project>/package.json. Open that file in a text editor and make the following changes:
-
add
node-redto the dependencies section - this will ensure Node-RED gets installed when the container is built."dependencies": { "node-red": "1.x", ... }, -
Add a
scriptssection to define astartcommand - this is how the container will run Node-RED:"scripts": { "start": "node --max-old-space-size=256 ./node_modules/node-red/red.js --userDir . --settings ./settings.js flows.json" }Let's take a closer look at the start command:
node --max-old-space-size=256 (a) ./node_modules/node-red/red.js (b) --userDir . (c) --settings ./settings.js (d) flows.json (e)- This argument is used to tell node when it should start garbage collecting.
- With
node-redlisted as an npm dependency of the project, we know exactly where it will get installed and where thered.jsmain entry point is. - We want Node-RED to use the current directory as its user directory
- Just to be sure, we point at the settings file it should use - something we’ll add in the next step
- Finally we specify the flow file to use. If you picked a different flow file name at the start, make sure you use the right name here.
-
Having made those changes, restart Node-RED and reload the editor in your browser.
Your complete package.json file should look something like this:
{
"name": "photobooth-workshop",
"description": "A Node-RED Project",
"version": "0.0.1",
"dependencies": {
"node-red": "1.x",
"node-red-contrib-tfjs-coco-ssd": "0.5.2",
"node-red-dashboard": "2.23.5",
"node-red-node-annotate-image": "0.1.0",
"node-red-node-ui-table": "0.3.7",
"node-red-node-ui-webcam": "0.2.1"
},
"node-red": {
"settings": {
"flowFile": "flows.json",
"credentialsFile": "flows_cred.json"
}
},
"scripts": {
    "start": "node --max-old-space-size=256 ./node_modules/node-red/red.js --userDir . --settings ./settings.js flows.json"
}
}
Next Steps
With the package.js file updated, the next task is to add a settings.js file.